Building cross platform mobile apps has truly never been easier. With the toolsets available now you can go from idea to fully functioning app in less than an hour.
This post will bring you through the process of building a simple weather app to prove this point.
When were done, it will look like this:
.png)
Introducing Expo
Expo is a set of services and tools that allow for you to quickly get up and running (as well as quickly push updates) with a RN application quickly. While whether or not you should use Expo in a production scenario is the subject for a different blog post, always know you can "eject" out of Expo if/when it becomes necessary.
Let's get started. First let's create the skeleton of our app:
1) install the expo command line (if you haven't before)
2) create the app - for this example we'll pick the blank option under "Managed workflow"
3) run the app
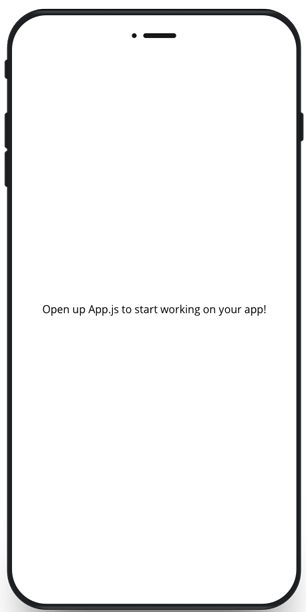
At this point you can click on "Run on Android Device/Emulator" (or "Run on iOS simulator" if you are on a Mac) and you should see this:

Very exciting, isn't it :p
Getting the Data
Wait, you don't think that's enough to be considered exciting? Ok, fine, let's spice it up some then. First we'll need somthing to display. For this tutorial, were going to cheat and use someonelse's data, specifically the OpenWeather API, so go over there and get yourself a free API key before continuing. We're also not going to be integrating GPS into the app during this tutorial, so you should figure out what your GPS coordinates are.
Now that you've got that information, we can use OpenWeather's One Call API to get the data, the URL will look like this:
https://api.openweathermap.org/data/2.5/onecall?lat=<LATITUDE>&lon=<LONGITUDE>&units=metric&exclude=minutely&appid=<KEY>
To use it in the application, we'll be making use of a couple of React Hooks, specifically useState and useEffect. useState will be used to hold (and set) our forcast data, while useEffect will allow us to load the data in a asynchronous manner. Here's a look at the completed code:
const [forecast, setForecast] = useState(null);
useEffect(() => {
const loadForecast = async () => {
if (!forecast) {
var response = await fetch(url);
var data = await response.json();
setForecast(data);
}
}
loadForecast();
})
Please note that this code is only for demonstration purposes, and if you ever commit code like this, with no error handling of any kind, you should double check your life choices!!
The code is pretty self explanatory, when you load the screen, it will check to see if we already have the forecast data, and if not will use fetch to return it. Upon fetching the data, we'll convert it to JSON and store it.
Displaying the Data
When running the application now, it looks like absolutely nothing has changed (unless you've got a typo in which case it will blow up), sometimes progress is invisible. Let's fix that.
We are going to be dividing the visuals of the app into three parts:
- The current information at the top
- A horizontally scrolling list of the hourly forecast
- A List of the next 5 days
I'm not going to go through every line of code here (you can see the final code here ) it's a pretty basic collection of Views, Images and Texts from the React Native components. One thing that I will point out for our web based friends is the SafeAreaView which will handle the "Notch" on the newer iOS phones automatically for you, besides that, if you know React for the web, you shouldn't have too much trouble picking up React Native.
Note that in a production app, you would 100% want to split those three widgets into their own files, to allow for better readability and code use.
Going Forward
So there you have it, an extremely simple Weather app in an extremely short period of time. If you'd like a follow up article expanding on the app, just let us know on Twitter.


